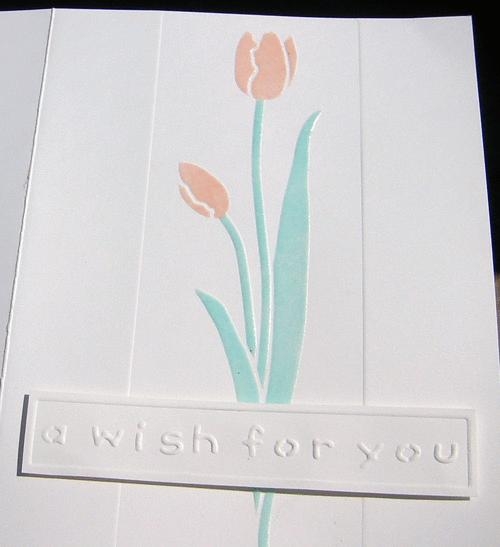
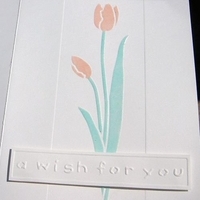
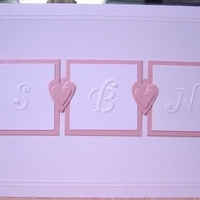
#2295 Another embossed card using the new wizard technique.
One of the small shortfalls with the Wizard is that you have to emboss the stencil and then cut out the design, leaving embossing directly onto the front of the cardstock more difficult.
Karen, from Marco Paper, showed me this technique that will allow you to emboss directly onto the front of the CS and not have to cut out the design and layer it elsewhere.
Fold a piece of CS in half. (Mine is A2 size finished)
Place the tan rubber INSIDE the cardstock and fold closed. My tan mat was as large as the folded cardstock.
Lay the folded cardstock onto the first white plate. Carefully lay your stencil (face UP) on the front of the cardstock, making sure it is exactly where you want it.
Carefully lay the second white plate on top of that making sure everything stays in place and run it thru the Wizard.
If it doesn't turn out well the first time, practice. I did two without them shifting.
I was also wondering if anyone has used the Simple Impressions Glue Tabs to hold the stencils in place. They are supposed to be very very thin and should not leave a mark like regular tape does.
Afterwards, I repositioned the stencil and colored the image with colorbox pads and sponge daubers then embossed with clear EP.
Tulip Stencil is from Dreamweavers.
Words from Lasting Impressions.
|